Most problems with wall cladding do not start at the factory. They start at the site. For builders, this is the hard truth behind many complaints that could be avoided. Even strong cladding materials can fail when the wall cladding system is put up on dirty, wet, uneven, or badly planned surfaces. This guide talks about cladding installation mistakes that cause gaps, stains, or the cladding coming off. It gives you simple steps to make the cladding installation process clean, safe, and solid for Indian weather and sites.
Why Cladding Installation Mistakes Cost More Than You Think
Small mistakes in wall cladding often turn into bigger problems over time. When you put up exterior wall cladding, things like a dusty wall, using the wrong glue or poor material selection can cause problems. You may see these problems weeks or even months later. These common mistakes in the installation process can lead to costly repairs and expensive callouts.
To avoid costly repairs, don’t just look at the appearance. Start by asking some practical questions. Is the wall surface strong? Is the wall cladding fit for the local climate? Has the installer had good training? Homeowners often only care about how it looks and miss these important basics. But these things are what really make the wall cladding work well.
How Minor Errors Lead to Gaps, Stains and Debonding
A gap usually happens because of alignment mistakes, glue that is not spread well, or a wall that was not checked before fixing the boards. If the pieces are not flat, stress builds up at the board ends and along the edges. You might see shadow lines, open joins, or corners that won’t stay neat.
Stains often come from moisture that gets trapped, water standing near the ground surface, or glue and grout left too long on the front. Sometimes, dust from the site mixes with moisture and leaves marks that are hard to get rid of later, especially in India. Many people think these marks are just a cleaning problem, but this is often caused by problems with how the boards were put in.
Debonding is the worst problem. If there is improper installation on weak, dirty, or damp surfaces, the cladding can lose its bond with the wall. If you do not fix it, this can lead to structural damage, more work hours, and even sections that need new boards, even though the material selection was right.
Linking Indian Weather Conditions and Cladding Failures
Indian projects see many different environmental conditions. There is strong summer heat, coastal humidity, heavy rain in the monsoon, and lots of dust. All of these can cause problems for an external wall. If the installation process does not take these things into account, even very neat work can fail much sooner than people think.
Temperature fluctuations are important for the cladding system. Many people may not see this coming. The joints may look neat on the day of work, but when there are extreme temperature shifts, these can make the finish move or crack. In places with heavy rain, moisture can get behind cladding materials and stay trapped if there is not enough waterproofing or good ventilation.
Because of all this, you should never pick facade cladding just by its look. You need to use cladding materials that are right for your place. The installation process also needs to be right for harsh weather. In coastal areas, you must have good moisture control. For hot cities inland, you need to think about heat resistance and make sure there is space for a bit of movement.
Substrate Preparation – The Silent Foundation of Wall Cladding
Before you put up any wall cladding, you need to look at the base of the wall. The base decides if the cladding system will last or fall off. The installation process needs a base that is clean, level, dry, and strong. If the base is weak, dusty, or not flat, the wall cladding will not stay on well, right from the start.
On many sites, teams try to save time by skipping these steps. They think the finish will cover up any wall problems. That does not happen. The proper installation of wall cladding starts with best base work. This helps keep the structural integrity strong. It also stops problems like gaps, stains, and the risk that the cladding might come off too soon.
Effects of Dust, Moisture, and Weak Surfaces
Dust is a very common problem on sites. It stops the glue from sticking to the wall the right way and leaves a weak spot. The same happens with moisture, even if the surface looks dry but is still damp underneath. Weak surfaces are risky too. The glue can only be as strong as the wall you put it on.
If you do not pay attention to these things, you get problems like:
- Dust stops the glue and wall from touching each other enough. This makes hollow places and parts where the glue comes off.
- Moisture brings stains. Water can get inside, and there might be mold growth behind the finished part.
- Weak surfaces can crack or break. This hurts the structural support and leads to structural damage.
Many people later say the cladding is the problem, but the main issue is bad site work at the start. You also get more maintenance requirements, because you will have to clean stains, reseal parts, or change loose pieces much earlier than you thought.
How to Properly Prepare Your Wall Before Cladding
Getting ready for wall cladding is simple, but you need to do it carefully. Start by looking at the wall to see if it is solid, dry & rough surface. Remove old coatings, POP, tile, color paint, dirt, and anything else that should not be there. After that, check that the wall can hold the wall cladding system firmly without moving or coming apart. Please Note: If there is any leakage in your wall or surface then clear the leakage problem before cladding
A good routine before starting should be:
- Clean the surface well. This makes sure that dust, bits, and old marks do not stop the cladding from sticking.
- Use a spirit level to check if the wall is flat. Fix any bumps or dips before you start.
- Make sure the wall has enough structural support. Do not leave any areas that are loose or crumbly.
- Leave the right space above the ground surface. This helps stop marks from water that stays on the ground.
Always follow the installation instructions for your wall cladding system product. No matter if you use Concrete Cladding, Brick Cladding, Stone Cladding, Cultured Stone Cladding, or Flexible Cladding like Flexura, you must prepare the wall before you put on the finish.
Using the Right Adhesive – A Non-Negotiable Step
Not every adhesive is right for all cladding materials. This is a key thing to remember in proper installation. If you use the wrong one, or if it is put on the wrong way, you might see a weak bond or an uneven look. Over time, things can go wrong and the cladding may fail. This is true for many types of installation methods and cladding materials.
Always ask your cladding supplier which adhesive suits your wall surface before you buy. Share the wall type, its condition and whether it is an interior or exterior wall. The right adhesive depends on these details, and a quick conversation now can prevent gaps, stains and debonding later.
Professional installation teams see picking the right adhesive as a part of the job, not just a quick fix. It does not matter if you go with Brick Cladding, Stone Cladding, Flexible Cladding, or any other type of architectural cladding finish. The adhesive you use has to fit the material, what it sticks to, and how you expect to use it.
Why Adhesive Choice and Application Matters for Brick Cladding
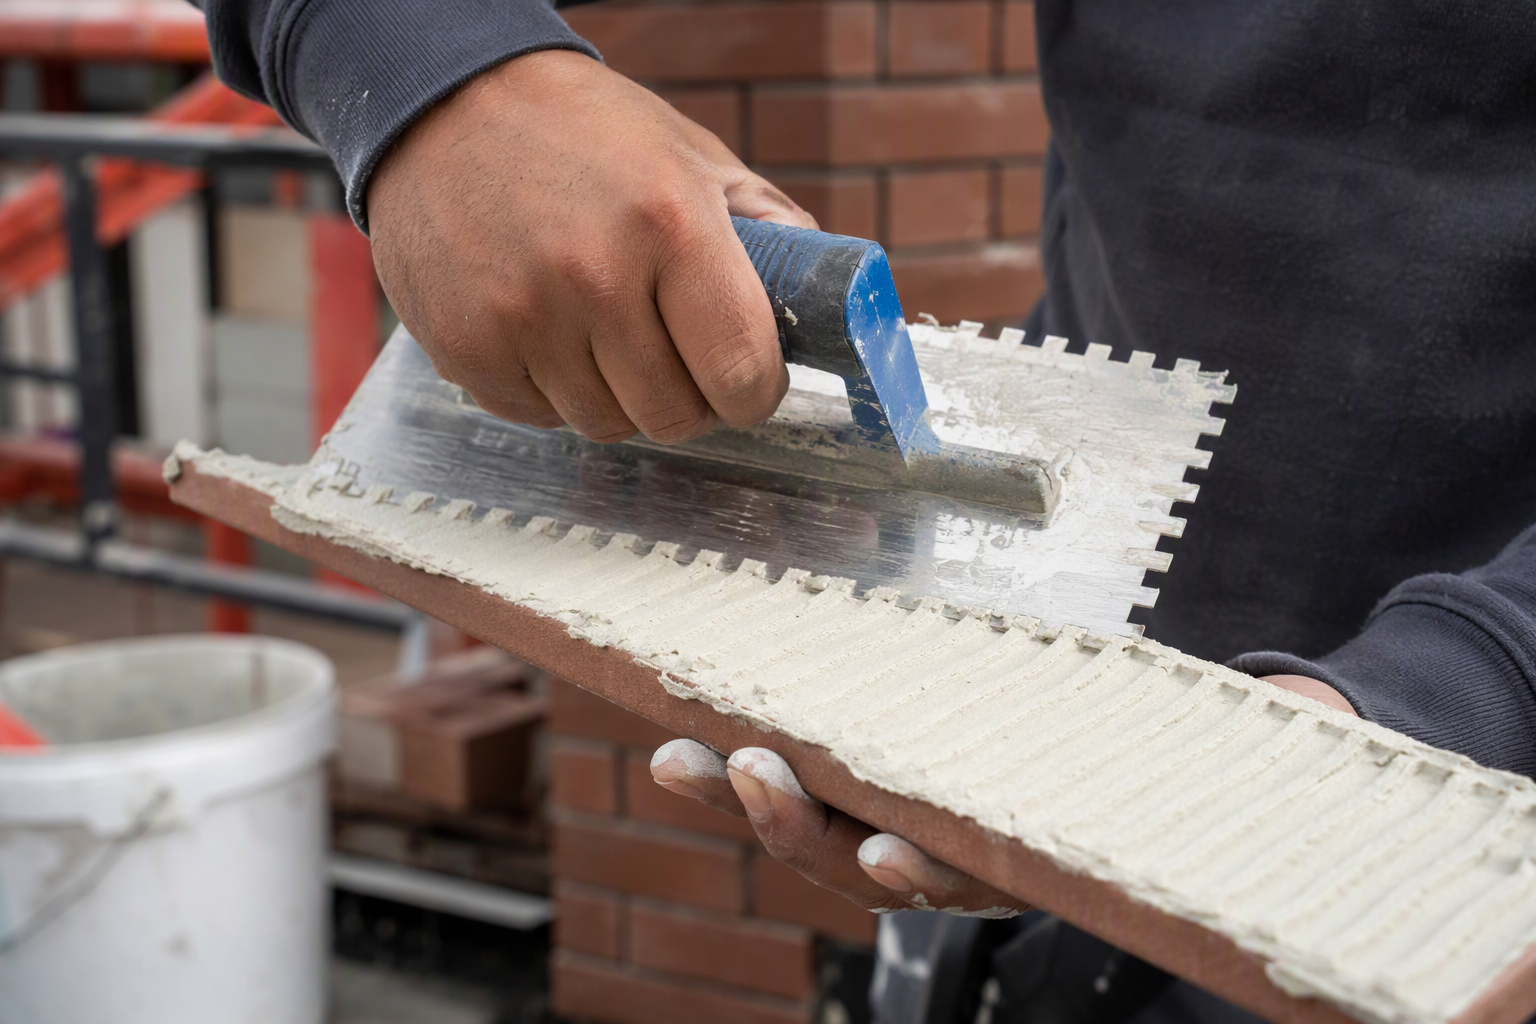
Brick cladding and stone cladding need good bonding over all of the fixing area. If the adhesive does not match well, is mixed badly, or spread in an uneven way, some spots will hold but others will stay weak. This lack of support is where you start to get cracks, gaps, and the risk of the cladding coming loose.
On an outside wall, this problem gets worse as time goes on. Rain, heat, and movement keep putting stress on the bond line. Improper installation makes small spaces behind the cladding, and these can trap water or cause pressure points. At first, you might see marks on the surface. Later, you may find the cladding starts to work loose.
The easy answer is no, not all adhesives are good for brick cladding or stone cladding. The weight of the material, how rough or smooth the surface is, and the state of what’s holding it up- all matter. The bond has to work with the structural support behind it, not against it. So, people should not guess about which adhesive to use on site.
Common Indian Site Pitfalls and How to Prevent Them
Indian sites come with some extra problems. The summer heat can dry the adhesive too quickly. During the monsoon, too much moisture can make curing hard. When you are near the coast, the air is quite damp. This can slow down drying and trap dampness inside. If you add dust and rushed workers to this, the wall cladding system faces trouble before the job even ends.
On many jobs, the same mistakes keep happening:
- The adhesive is put on in patches and not spread out over the whole fixing area.
- People fix surfaces before they have got fully dry after rain or washing.
- The way the site is handled means there is dust on the back of the cladding.
- Workers rush the installation process and forget to check if everything lines up and there is good contact.
To stop this from happening, do your work based on the local climate, cover and protect your materials on the site, and stop work if the weather is not right. Facade Cladding and Exterior Cladding should always be put on with care. Even if the finish looks good on day one, it will not last if the bond is already weak under the surface.
Ignoring Joint Spacing and Thermal Movement
Many installers want a tight and smooth look, so they make the space between joints smaller. At first, this might look good. But in practice, it is not safe. Thermal movement happens to every cladding system, and there must be space for the cladding to expand and contract.
If you ignore proper joint spacing, pressure builds up when the temperature goes up or down. You can get cracks in the cladding, stressed edges, gaps at joints, and claddings that pull away. With exterior cladding, especially during the hot Indian summer, this is not just a small problem with the finish. It affects how long the cladding lasts and how it looks.
The Impact of Tight Joints in Indian Heat and Monsoon
Tight joints do not give the tiles any space for heat movement. In the Indian heat, cladding on walls that face the sun can grow bigger during the day. If you do not leave enough room, the stress will move into the edges and the place where glue holds the tiles. This can make some tiles slide out of place or cause cracks that may collect dirt and water later.
In the monsoon, water gives new stress to the tiles. Wet and dry days can make each part of the installation change, which may show up in different ways across the building’s front, especially in exterior applications. You will often see failure first near corners, gaps, and other open edges, as that is where the most movement happens.
There are common mistakes people should avoid when they put brick cladding tiles or other similar products. Do not press the pieces too close together. Do not forget to leave gaps around the edge. Do not think the weather will always stay the same. Good spacing is not just about how things look. It helps stop gaps, stains, and tiles coming loose.
Correct Practices for Flexible Cladding Expansion
Flexible Cladding must let things move over time. Products like Flexura give you design flexibility. But, you still need to keep control when putting it on the wall. When you do installation, think about the edges, corners, and spaces between surfaces. This is because stress from too much movement can show up in these spots. Flexible cladding is thin and lightweight, so it needs much less adhesive than rigid materials. A thin, even coat on a well-prepared wall is enough, which saves cost, time and effort on site.
Here is a better way to go about it:
- Always leave even gaps the way the installation instructions say, not by just guessing.
- Check all corners and places where the wall turns, since corner trims should let the boards move.
- Plan for temperature fluctuations on every wall, as walls can heat or cool in different ways.
- Never press cladding boards or flexible sheets into a space just to hide gaps.
The right installation process takes movement into account from the very beginning. First, lay out the materials, check the size, and leave a bit of room where the feature walls meet other surfaces. You must do this for Flexible Cladding, Interior Cladding feature walls, and Exterior Cladding. If you don’t let things move, you will often see marks or cracks later that ruin how it looks.
The Importance of Mock-Ups and Layout Planning
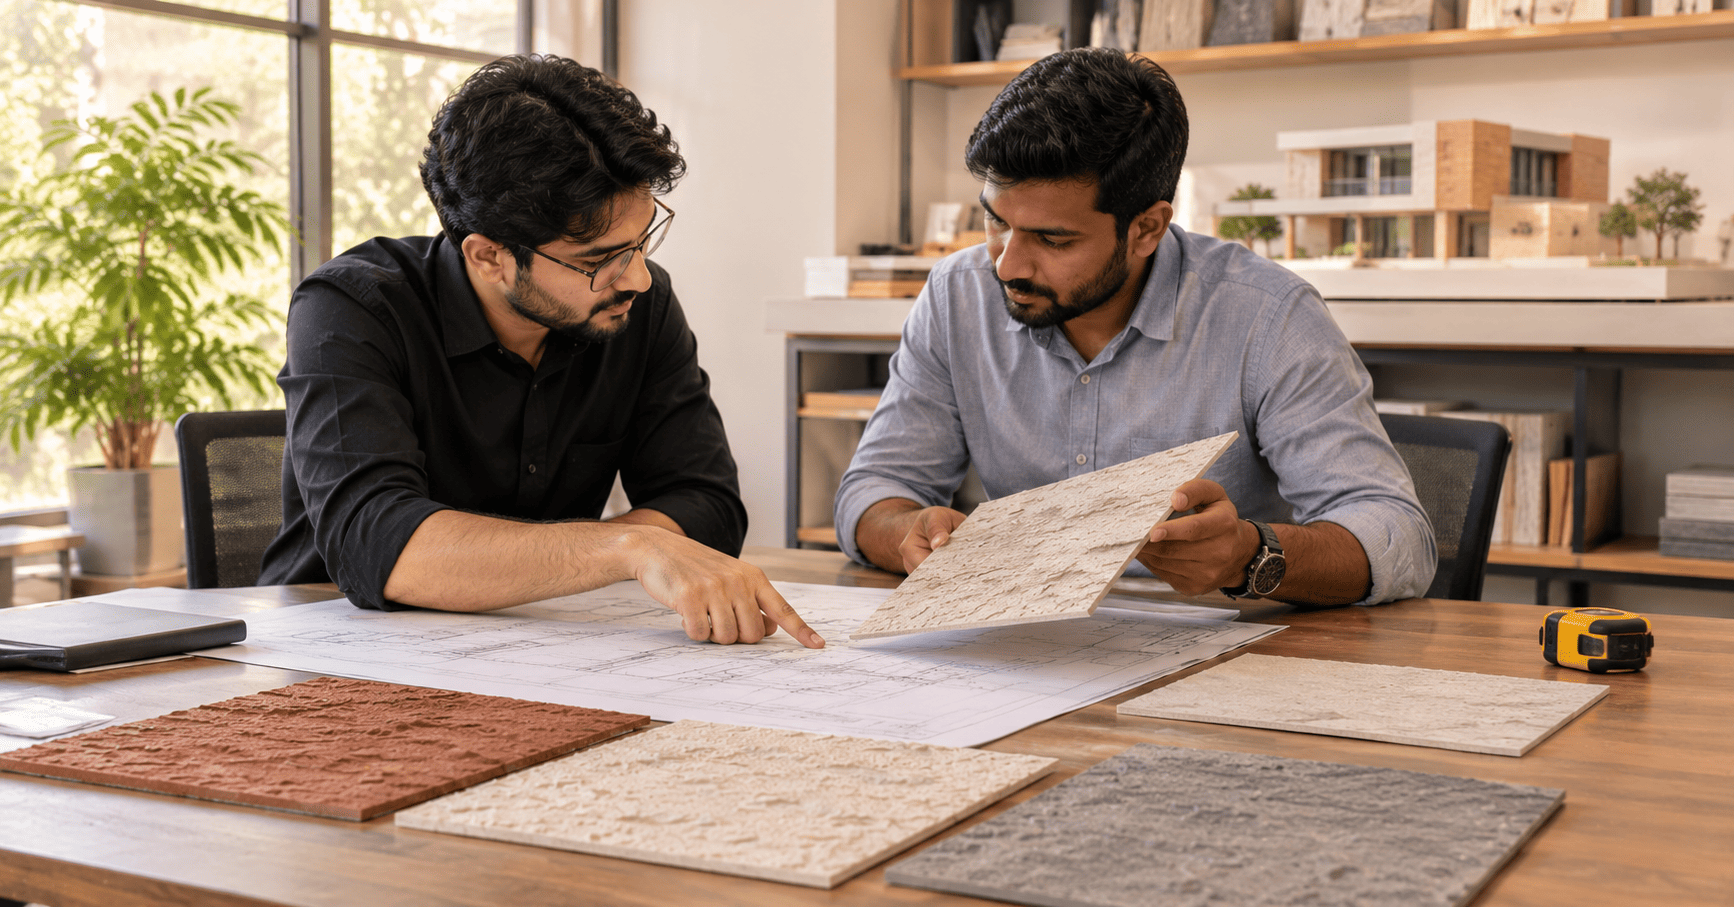
A mock-up is a simple way to stop mistakes before they happen on a job site. With it, you can see the different colours, how the joints line up, how straight things are, and what the finish looks like before the full work starts. It also helps you plan well for how the cladding will go around doors, corners, and edges.
This is important because many problems start with a bad layout, not because of poor material. A mock-up gives the team some time to check the design with the installation instructions and fix things early. This helps, no matter if the job needs everything to be the same, or if you want more design flexibility.
What Goes Wrong Without a Pre-Installation Mock-Up
If you do not use a mock-up, the first full wall often becomes a test spot. That is where some potential issues turn up, but by that time, it is usually too late. You might find joint lines are not the same height, cuts at corners are awkward, you can see the pattern repeating, or pieces do not mix well across the wall.
The installation process also gets harder to control. If you have not shown one approved area, each person working may guess the spacing and alignment in their own way. This often leads to a finish that looks rushed, even when the material is fine.
Professional installation teams use a mock-up first. It helps them spot any problems before they cover the whole project. This is the best way to check the fit, appearance, and what is possible to build together. If you skip the mock-up, a small issue could lead to a much bigger problem. You could see stains from people touching the wall too much, or the glue might fail if you have to pull things off and put them back on.
Practical Steps for Planning a Cladding Layout
Good layout planning should begin before you put in the first piece. Make sure to measure the wall, find corners and any openings, and decide where you want cuts and joints to go. This helps the wall cladding look good. It also keeps the structural integrity of the wall by staying away from weak or odd edges.
A practical planning routine should cover:
- Lay out the cladding first to look over any variation and the order of the pieces.
- Check where the joints meet each corner, any returns, and any places where the levels change.
- Confirm the trims, the edges, and all the support conditions in the complete system.
- Keep the layout that everyone has agreed on handy for the site team while they fix things in place.
This is what a good installation process should be: plan first, test first, then install. For wall cladding, architectural cladding, and facade cladding, layout is about more than looks. It cuts down waste, stops handling damage, and helps the whole cladding system stay the same from the start of the job to the end.
Environmental Errors – Installing in Unsuitable Conditions
Weather can change how the cladding system bonds, cures, is handled, and looks at the end. Still, many people do not think much about this important step in the installation process. If work is done in the rain, very hot weather, or high humidity, the cladding system can get damaged before it is finished.
To have a professional installation, you need to know when not to start the work. The environmental conditions each day should show you what to do. In India, you may need to stop for heavy rain, slow down in high summer heat, or cover the work area when there is a lot of moisture in the air.
Risks of Installing During Heat, Rain, or Humidity
Heat changes how adhesives act. If the surface gets too hot, the bond can dry too fast. This makes it lose touch before it sticks the right way. Rain brings another problem by adding water in the area where you want to bond, and humidity can slow down drying. It can also keep the area wet behind the finish.
Different cladding materials react in their own ways, but the risks are close to the same. Installation methods are harder to manage, and uneven drying can happen more often. A neat line on the wall may look good now, but it can cover a weak bond underneath. These weak spots show up later as stains or cladding coming loose.
This is why heat resistance in the material is not all you need. You also must pay attention to the weather during installation. If it is the monsoon season, put off working on wet walls. In strong summer heat, try not to work during the hottest hours. If you are in coastal humidity, you need to watch moisture control even more.
Site Handling and Storage Tips Under Indian Climate
Storage and handling have a big impact on the finish quality of cladding materials before you even start to put them in place. If you leave cladding materials out in the rain, under strong sunlight, or somewhere dirty on the site, they can take in dirt, change shape, or have damaged edges. This means the person putting it up must deal with issues that started long before the work began.
In the Indian local climate, some habits help a lot:
- Store materials in a clean, dry place where they will not get wet or be hit by strong weather.
- Keep all pieces stacked and handle them with care to stop chipped edges or stains on the surface.
- Do not put cladding right on the ground, as this is where you often find dust and damp.
These simple steps help keep the service life of cladding materials longer because you protect the materials just before they go on the building. This is important for Concrete Cladding, Canvas Concrete, Brick Cladding, Cultured Stone Cladding, and all other types of exterior cladding. Looking after your materials before use is important for a good finish; it should not be an afterthought.
Conclusion
To sum up, it is very important to avoid mistakes in cladding installation. This helps your project last longer and look good. Every mistake, like not getting the surface ready, putting on the glue wrong, or ignoring things like weather, can cause big problems. You might get gaps, stains, or the cladding might not stick well.
If you plan well, pick the right materials, and think about the Indian weather, you can get great cladding installation results. If you want help that fits your needs, you can reach out to Articlad. We have the skill to help you with cladding installation, and we will make sure your project turns out well and lasts for many years.
Frequently Asked Questions
What is the ideal process for preparing a surface before cladding installation?
The best way to get ready is simple. First, clean the wall and take away any dust or loose bits. Check the level, and make sure the wall is strong. There must be enough space between the wall and the ground surface. After this, follow the installation instructions for the product as given. Proper installation starts with a dry, flat, and steady base. This helps the cladding stay safe.
How do I stop stains or discolouration on my wall cladding?
Stop stains by stopping water from getting in. Clean up glue and grout right away. Make sure there is no water sitting near the bottom of the cladding system. A good setup cuts down most problems with stains. After that, do occasional cleaning and check things often. This keeps up with maintenance requirements and makes the finish look the same.
Are all types of adhesives suitable for brick cladding or stone cladding?
No. The adhesive you use must match the type, weight, and feel of Brick Cladding and Stone Cladding. It should also match where and how it will be used. If there is the wrong material selection or if you use it the wrong way, the bond may not hold well and can come loose. During the installation process, choosing an adhesive must be a technical choice. It should not be based on what is easy or what you just happen to have on site.
A Cladding Pre-Installation Checklist for Smooth Results
Use a clear checklist. Make sure the substrate is clean and strong. The wall should be dry. Have the layout checked and approved. Plan the joints. See that the weather is right. Check that waterproofing is ready. Keep materials safe. Have trained installers for the job. This helps keep the installation process organised. It also helps support the structural integrity of the wall. You will get fewer defects in the work, so repairs, upkeep, and disruptions later on will not be as much.
Step-by-Step Guide to Avoiding Cladding Installation Mistakes
Start with the right material selection. Prepare the wall well. Plan the layout before you begin. Check the weather on the day you want to work. Use the right adhesive, and let everything move if it needs to. Clean any residue right away, too. Follow the installation instructions at every step. If you are not sure, get expert advice early. This is the best way to make sure of proper installation.
Key Points to Confirm Before Starting Your Project
Before work can begin, you should check the site conditions, the quality of the base, which materials to use, where to put movement joints, moisture protection, and if there is a safe place to store things. You also need to make sure the approved layout is clear. Good project planning for the cladding system helps avoid any surprises during the installation process. This can also help make sure that only teams who know the right way of doing a professional installation, and who follow proper site rules, put up the cladding system.
Moisture and Waterproofing – Protecting the Core
Moisture that gets behind the finish can quickly cause hidden problems. Waterproofing and moisture control help keep the core wall safe and lower the chance of mold growth. In any wall cladding system, it is best to plan this part before you start fixing the cladding. Do not wait until stains show up or the maintenance requirements go up.
What Happens if Waterproofing Behind Cladding is Neglected?
If waterproofing is not done, water can stay behind the cladding and get into the wall later on. This can make stains, the bond may not hold, mold growth can happen, and there could be structural damage. What starts as a hidden installation process problem can end with costly repairs, taking things out, and a lot of work to fix it.
Best Practice for Moisture Control in Indian Homes
The best way to start is to respect the local climate. In places with monsoon seasons or a lot of coastal humidity, it is important to control moisture behind the wall cladding system. You need to make sure all surfaces are dry before you start fixing the cladding. Use the right waterproofing methods and do not let dampness get trapped. When you have a professional installation for your wall cladding, you lower the maintenance requirements over time. This also helps your wall cladding system look good and stay strong for longer.
Bringing Long-Term Value with Articlad Solutions
Long-term value comes when you pick the right product for the site and make sure the installation process is done right the first time. Articlad helps with wall cladding by giving useful cladding guidance for both exterior applications and inside areas. If you choose the correct cladding system and carry out cladding installation with care, you get a smoother look, stronger results, and easier upkeep for your wall cladding.