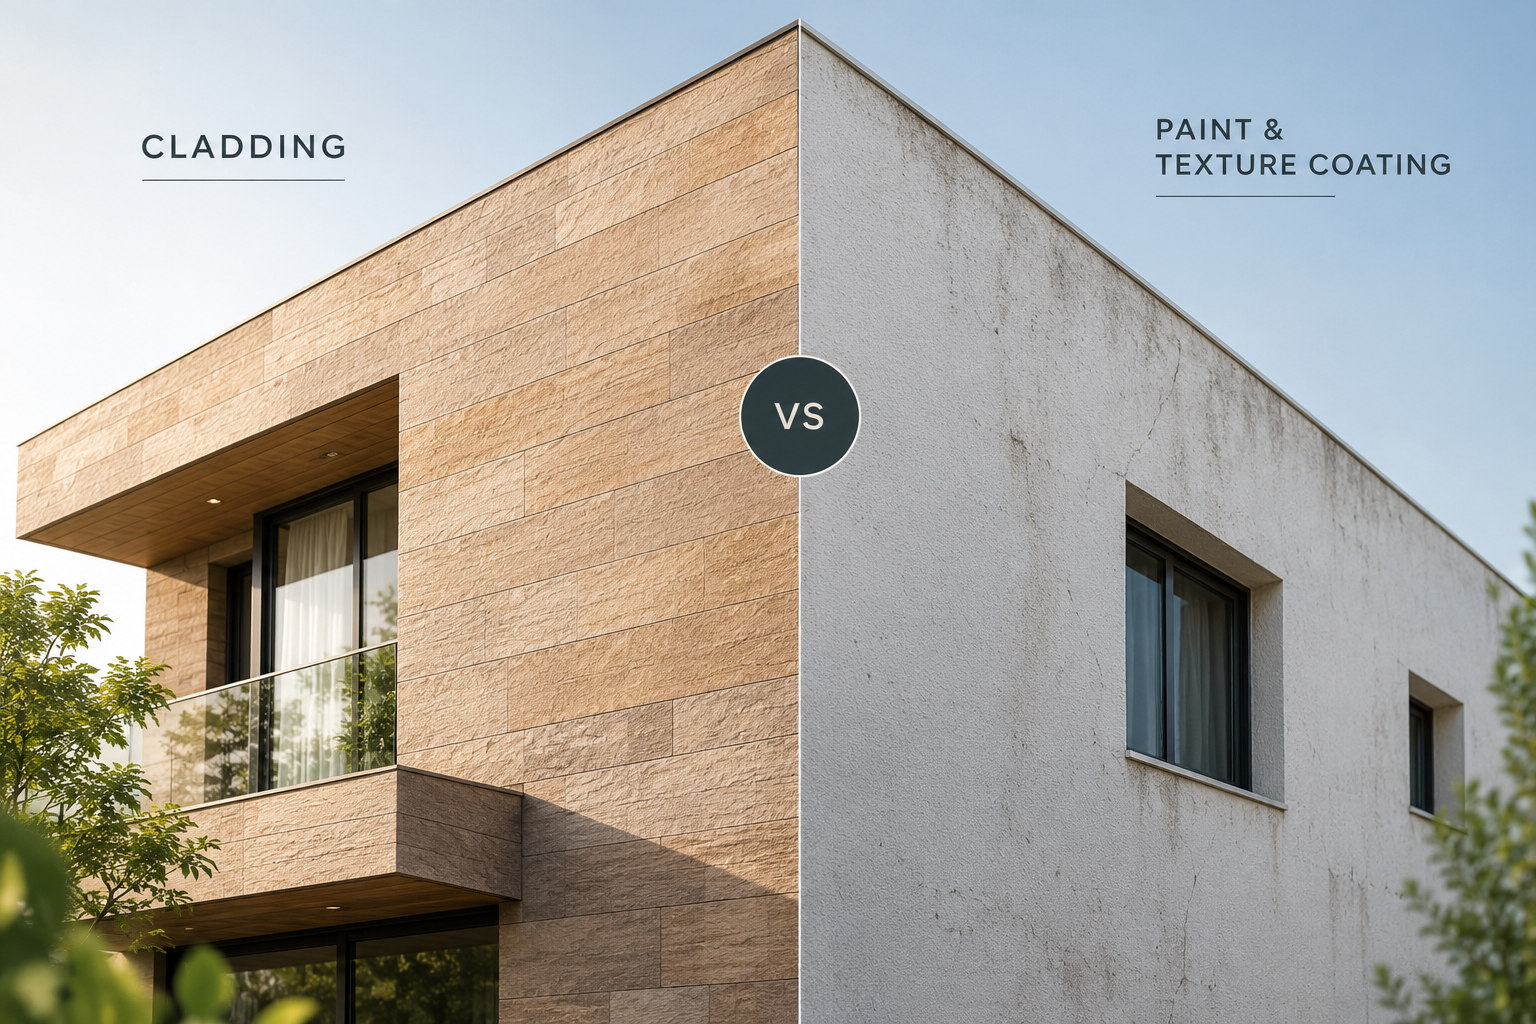
Why proper substrate preparation is one of the most overlooked steps in facade and cladding installation.
In construction, some of the most expensive mistakes begin with the smallest compromises.
A few hundred rupees saved during installation can sometimes translate into lakhs in repair costs months after project handover. One of the clearest examples is substrate preparation before cladding installation.
An uneven wall, a dusty surface, weak plaster, or an overlooked moisture issue may seem insignificant when a project is running behind schedule. However, these seemingly minor details can affect adhesion, system performance, and the long-term reliability of the facade.
The challenge is that most substrate-related problems remain hidden until the cladding is already installed.
By then, what could have been a straightforward preparation task may become a costly facade repair.
1. The Problem Begins Before Installation
Before cladding is installed, the substrate must provide a suitable, stable, and compatible surface for the selected installation system.
Yet, under schedule pressure, preparation is sometimes reduced to a quick visual inspection.
The instructions may sound familiar:
- “Just apply the adhesive.”
- “The wall is uneven only in a few places.”
- “We can adjust it during installation.”
- “There is no need to spend extra time preparing the surface.”
Work proceeds, and the facade may initially look perfectly acceptable.
But visual appearance alone does not establish whether a substrate is suitable for cladding installation. The surface must meet the requirements of the selected cladding system, adhesive, and manufacturer’s specifications.
A successful installation begins with a sound substrate, not simply with the right cladding material.
2. What Proper Substrate Preparation Actually Involves
Substrate preparation is not a cosmetic step. It is a technical process that directly influences the performance of the complete cladding assembly.
A. Checking level and flatness
The wall must be checked against the flatness and alignment tolerances specified for the installation system.
An uneven substrate can create inconsistent adhesive thickness, affect material alignment, and introduce localised stresses. Excessive adhesive thickness may also alter curing behaviour and compromise performance if it falls outside the manufacturer’s permitted limits.
Correcting significant irregularities before installation helps establish a more uniform and predictable bonding surface.
B. Removing loose and weak material
Loose plaster, flaking paint, friable concrete, and poorly bonded surface layers must be identified and removed to expose a sound substrate.
Why does this matter?
Because the adhesive may bond successfully to the surface layer while that layer itself remains poorly attached to the wall. The resulting assembly can fail at the weakest interface.
The strength of a bonded system depends on the integrity of its weakest layer.
C. Cleaning dust and contaminants
Dust, cement laitance, release agents, grease, old coatings, and other contaminants can interfere with adhesion.
Even when a wall appears clean, a fine layer of dust or contamination may prevent the adhesive from making reliable contact with the intended substrate.
Cleaning methods should be selected according to the substrate and installation system, ensuring that the surface is suitable before adhesive application.
D. Checking moisture conditions
Moisture is another critical factor that should not be assessed by appearance alone.
Depending on the substrate and adhesive, excessive moisture can interfere with bonding or contribute to moisture-related defects. Conversely, highly absorbent or excessively dry surfaces may draw water from certain cementitious adhesives too quickly, affecting hydration and bond development.
Moisture conditions should therefore be checked using an appropriate method and evaluated against the requirements of the selected system.
This is particularly important for projects exposed to India’s monsoon conditions and prolonged periods of high humidity.
E. Applying primers or bonding agents where specified
Some installation systems require a compatible primer or bonding agent to improve the interface between the substrate and adhesive.
When specified, this treatment is part of the installation procedure, not an optional finishing step.
Skipping it may compromise the performance expected from the tested system. Equally, using an incompatible primer can create problems of its own.
The correct approach is to follow the cladding and adhesive manufacturer’s installation instructions.
F. Controlling surface absorbency
Highly porous substrates can absorb moisture from certain adhesives before they have developed the required bond.
Depending on the system, this may require a specified primer, sealer, or surface-conditioning procedure.
The objective is not simply to make the wall look prepared. It is to establish the surface conditions required for reliable adhesion.
Once the cladding is installed, these preparation steps become invisible. That is precisely why they must be checked before work begins.
3. Everything Looks Fine Until It Doesn’t
The cladding is installed. The scaffolding comes down. The building is handed over.
For several weeks or months, everything may appear normal.
Then, signs of a potential problem begin to emerge:
- A section of cladding develops a hollow sound.
- Joints begin to open or show movement.
- Individual units become loose.
- Localised debonding appears.
- Sections of the facade require investigation and repair.
These symptoms do not automatically indicate poor substrate preparation. Similar defects can result from adhesive selection, installation workmanship, movement, water ingress, inadequate detailing, or material-related issues.
However, when substrate preparation has been rushed or inadequately documented, it becomes an important part of the investigation.
The original saving now has to be weighed against the cost of diagnosing and repairing a completed facade.
4. Why Can Facade Problems Appear Months Later?
Some installation defects become apparent immediately. Others emerge gradually as the building and its external envelope experience changing environmental conditions.
Several factors can contribute to this process.
Thermal movement: Building materials expand and contract as temperatures change. If the installation system cannot accommodate the resulting movement, stresses may develop at the adhesive interface, joints, or material connections.
Moisture cycling: Repeated wetting and drying can expose weaknesses in the substrate, adhesive interface, waterproofing, or joint details. In regions with heavy monsoon rainfall, these conditions deserve particular attention.
Building movement and vibration: Minor structural movement, settlement, and environmental vibration can place repeated stresses on facade components and their connections.
Joint and interface failures: Poorly designed or executed junctions around windows, corners, openings, and dissimilar materials may allow water ingress or concentrate movement-related stresses.
These mechanisms can interact with one another. A weak interface may be less capable of accommodating the stresses that a properly prepared and correctly installed system is designed to withstand.
The important distinction is that delayed facade failure is rarely explained by one visible symptom alone. A proper technical investigation must examine the substrate, adhesive, cladding, installation process, and interface details together.
5. What Does Rework on a Completed Facade Actually Cost?
Before installation, correcting an unsuitable substrate may require relatively little material and labour.
After installation, the same correction can involve multiple additional activities.
| Cost component | Why it matters |
|---|---|
| Access equipment | Scaffolding, suspended platforms, or other access arrangements may be required. |
| Removal | Installed cladding may need to be carefully dismantled. |
| Replacement materials | Damaged or removed units may need replacement. |
| Labour | Additional teams may be required for removal, preparation, and reinstallation. |
| Adhesives and finishing | Bonding, jointing, sealing, and finishing work may need to be repeated. |
| Coordination | Repairs can disrupt site operations, occupants, and other contractors. |
There may also be indirect costs associated with delayed handover, restricted access, occupied-building disruption, and contractual disputes.
The original preparation task may have been relatively inexpensive. The subsequent repair, however, involves accessing, removing, correcting, and rebuilding work that has already been completed.
That is where the economics change.
The mistake may not have become technically bigger. The cost of accessing and correcting it has.
The ₹500 and ₹5 lakh figures in this article are illustrative, not a universal cost estimate. Actual expenses depend on facade height, access requirements, the extent of failure, material selection, and the repair methodology.
6. Why Responsibility Becomes Difficult to Establish
Facade installation involves several interconnected parties, which may include the substrate contractor, waterproofing contractor, cladding installer, material supplier, and project consultant.
When a defect appears months after handover, each party may need to establish whether its work complied with the relevant specifications.
Without records of the substrate’s condition before installation, determining the cause can become difficult.
A documented pre-installation inspection can help establish:
- The condition and flatness of the substrate.
- Whether loose or contaminated material was removed.
- Relevant moisture readings, where required.
- Whether specified primers or surface treatments were applied.
- Whether the substrate was accepted before cladding installation.
- Photographs of critical areas and interface details.
These records do not automatically establish liability, but they provide valuable evidence during a technical investigation.
For architects, project managers, contractors, and facade consultants, a documented substrate handover is an important quality-control measure.
It establishes a clear checkpoint before the next stage of work begins.
7. The Same Principle Applies Beyond Facades
Substrate preparation is one example of a broader construction principle: correcting a problem before it is concealed is generally easier than correcting it after subsequent work has been completed.
The same applies to several other building activities.
Waterproofing: Incorrect membrane laps, inadequate upstands, and poorly detailed junctions can require the removal of finished flooring or ceilings to investigate and repair leaks.
Drainage slopes: Incorrect falls can lead to water ponding. Once tiles are installed, correcting the slope may require removing and relaying the finished surface.
Embedded services: Incorrectly positioned conduits and sleeves can become expensive to correct after concrete is poured or walls are closed.
Expansion joints: Missing or incorrectly positioned joints may require disruptive remedial work if identified only after construction.
Material interfaces: Junctions between cladding, window frames, concrete, and metal components need suitable detailing to accommodate movement and manage water ingress.
Fire stopping: Inadequately sealed service penetrations can be difficult to identify and rectify after walls, ceilings, and service enclosures are completed.
In each case, early inspection provides an opportunity to resolve the issue before it becomes hidden behind another layer of construction.
8. How Project Teams Can Reduce the Risk
Preventing avoidable rework does not necessarily require complicated procedures. It requires consistent inspection, clear responsibilities, and disciplined execution.
1. Make substrate inspection a scheduled milestone
Do not treat substrate approval as an informal activity squeezed between other tasks. Include it in the project programme and complete the required checks before installation begins.
2. Document conditions before covering them
Record relevant measurements, photographs, moisture readings, and inspection outcomes. Use the acceptance criteria specified for the particular cladding system.
3. Follow the complete installation specification
Confirm that the substrate, adhesive, primer, cladding material, and joint details are compatible. Follow the manufacturer’s requirements rather than relying on assumptions or general site practice.
4. Separate schedule recovery from quality control
A delayed project requires better coordination, not the removal of essential preparation steps. Quality checkpoints should remain in place even when the programme is under pressure.
5. Establish clear handover responsibility
Define who inspects the substrate, who approves it, and who authorises the start of cladding installation. Record any unresolved issues before proceeding.
6. Investigate defects systematically
If a problem appears, avoid assuming that the material or installer is automatically responsible. A structured investigation should consider the substrate, adhesive, workmanship, material compatibility, environmental exposure, and design details.
These measures help teams make better decisions before a small issue becomes a larger construction problem.
9. The Cheapest Decision Is Not Always the Lowest-Cost Decision
Construction budgets naturally encourage teams to control costs. The challenge is distinguishing between unnecessary expenditure and essential quality control.
Substrate preparation may not improve the appearance of a facade immediately. It may not feature in project photographs or attract attention during a site visit.
Yet, it can directly influence the conditions under which the cladding system performs.
The same is true of waterproofing details, movement joints, drainage gradients, and service coordination.
Their value lies in preventing problems rather than creating something immediately visible.
The most useful question is therefore not simply:
“How much will it cost to do this properly today?”
It is:
“What could it cost if we have to correct it after everything else is finished?”
That question changes the conversation from short-term savings to long-term project performance
Key Takeaways
Early quality control protects long-term value. Correcting a problem before it is covered up is often the more economical approach.
Substrate preparation is a technical requirement. Flatness, surface strength, cleanliness, moisture conditions, and absorbency can all influence installation performance.
Visible quality does not guarantee a reliable bond. A facade can look finished while hidden interface problems remain.
Failures may emerge over time. Thermal movement, moisture exposure, and other stresses can reveal weaknesses that were not immediately apparent.
Rework introduces additional costs. Access, removal, replacement, labour, finishing, and coordination can make repairs substantially more expensive than early corrections.
Documentation supports accountability. A recorded substrate inspection and handover can help establish the condition of the wall before installation.
Every concealed detail deserves attention. The same principle applies to waterproofing, drainage, expansion joints, embedded services, and fire stopping.
Conclusion: Get the Hidden Details Right Before They Disappear
Buildings are not judged only by how they look on the day of handover. Their long-term performance depends on the quality of decisions made throughout design, preparation, installation, and maintenance.
Substrate preparation is one of those decisions that may go unnoticed when done correctly but can become expensive when overlooked.
For architects, developers, contractors, and faacde professionals, the lesson is straightforward: do not evaluate a construction decision only by its immediate cost. Consider the consequences of getting it wrong, the difficulty of accessing it later, and the impact on the completed building.
The cheapest time to correct a construction detail is usually before the next layer covers it.
Planning a Facade or Cladding Project?
At Articlad, we believe that successful cladding begins with the right material selection, suitable substrate conditions, and installation practices aligned with the requirements of the chosen system.
Before installation begins, ensure that substrate conditions, adhesive compatibility, and critical interface details have been reviewed by the relevant project professionals.
Explore Articlad’s cladding solutions and projects, or contact our team to discuss your upcoming project.